Over the weekend I got a box built for the controller and a separate one for the power supply. They are separate because I wanted to be able to move the unit around so it could be in a comfortable location. With the power supply, relay, safelight plugs and the LED drivers it was just too large. So I built a really ugly box out of sheet aluminum for the power supply. And I used a simple project box from Radio Shack to mount the Arduino with the keypad and display in. They are connected by an 8 conductor wire with RJ45 connectors (ethernet jacks and cable). This is nice and flexible, and since there’s very little power drawn by the controller it should be fine over the thin wire. Once I give the box a nice coat of hammered silver finish I’ll post some pictures so you all can laugh at my sheet metal skills.
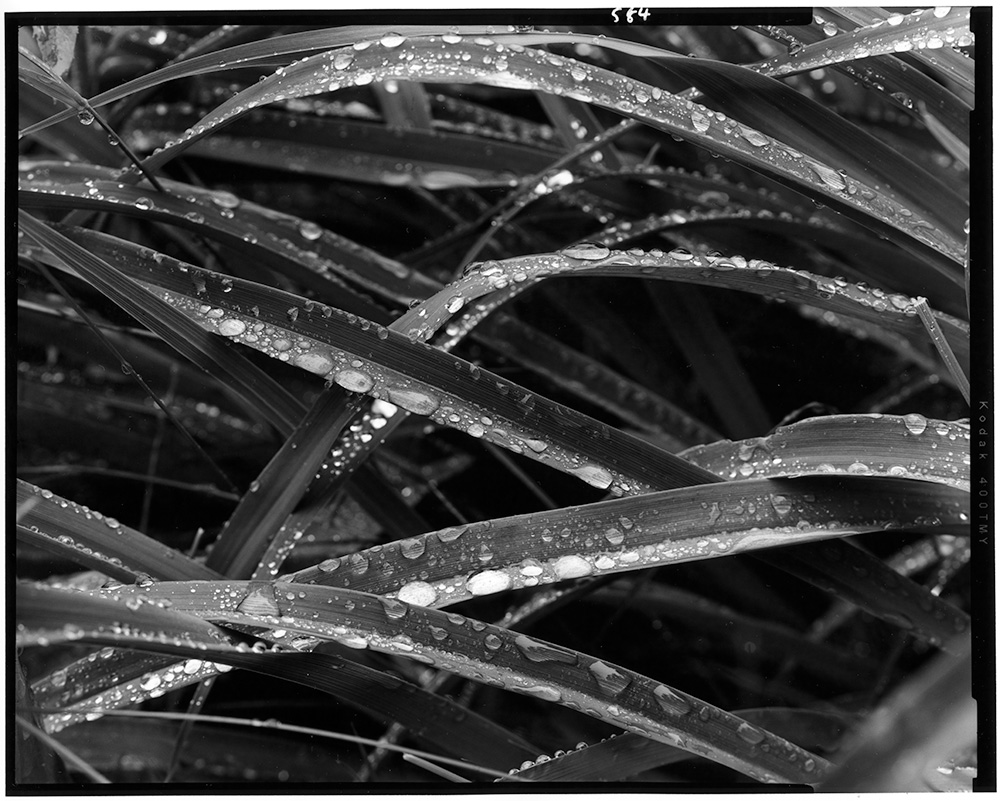
I made my first print tonight using the system. It was a negative I took at lunch when the rain stopped (mostly) for a few minutes.
Shot on 4×5 T-Max 400 with a 210mm Macro Sironar and developed in Pyrocat HD in a Jobo Expert Drum. Printed on cheap Adorama RC paper.
The print is a straight print at an ISO Exposure Scale of 100 (grade 2). Despite the RC paper it looks really nice.
The head is fast as it’s setup. I needed to stop down to f/11 for the print and it was a 6 second exposure. I think this is over a stop faster than the condenser head, but I haven’t measured it. For small prints like this I want to build in a way to dim the lamps some more. That will require some changes to the code.
But so far everything worked well, except the test print mode. I screwed something up in that section of the code, and I realized as I went to use it that I had never tested it. So back to the editor it goes.

